You’ve booked the install date. Now the real work begins on your end. A little prep before the HVAC technician arrives keeps the job on schedule, protects your home, and helps your new system perform right from the first run.
Most homeowners focus on picking a unit and signing the contract. They forget that home preparation for AC replacement can make or break installation day. This guide walks you through exactly what to do, in the order that matters, so you’re ready when the crew pulls up in San Jose.
Why Preparing for a New AC Installation Matters
Getting a new air conditioner is a big investment. Proper AC installation preparation protects that investment before the first bolt gets tightened. When you clear access, confirm electrical capacity, and plan for the crew’s workflow, you cut installation time and avoid costly change orders.
Skipping prep creates real problems. Technicians waste time moving furniture or waiting for access to the electrical panel. Dust spreads through rooms that should have been covered. Landscaping gets trampled because the path to the outdoor condenser unit wasn’t cleared. These issues add stress and can delay your system from running the same day.
Here’s what good preparation delivers:
- Technicians finish faster with fewer interruptions during the install
- Your floors, walls, and landscaping stay protected from accidental damage
- Electrical and access issues get resolved before the crew shows up
- Pets and kids stay safe and calm during loud, busy work
- You walk away with a fully tested, warranty-registered system on day one
Your Complete New AC Installation Checklist
Use this checklist as your week-by-week game plan. Start seven days out, then tighten things up at 48 hours, and finish with day-of confirmations. This timeline keeps you from forgetting critical steps when installation day gets hectic.
One Week Before Installation Day
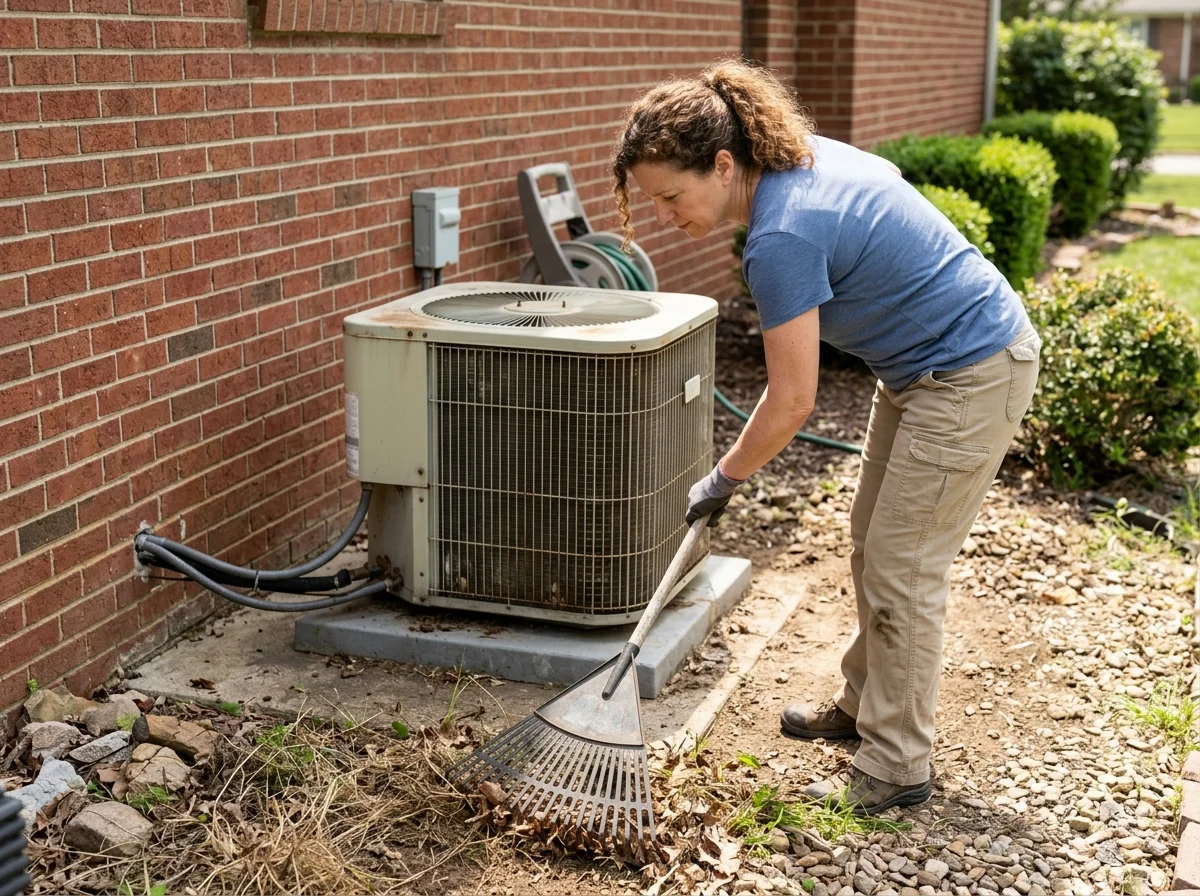
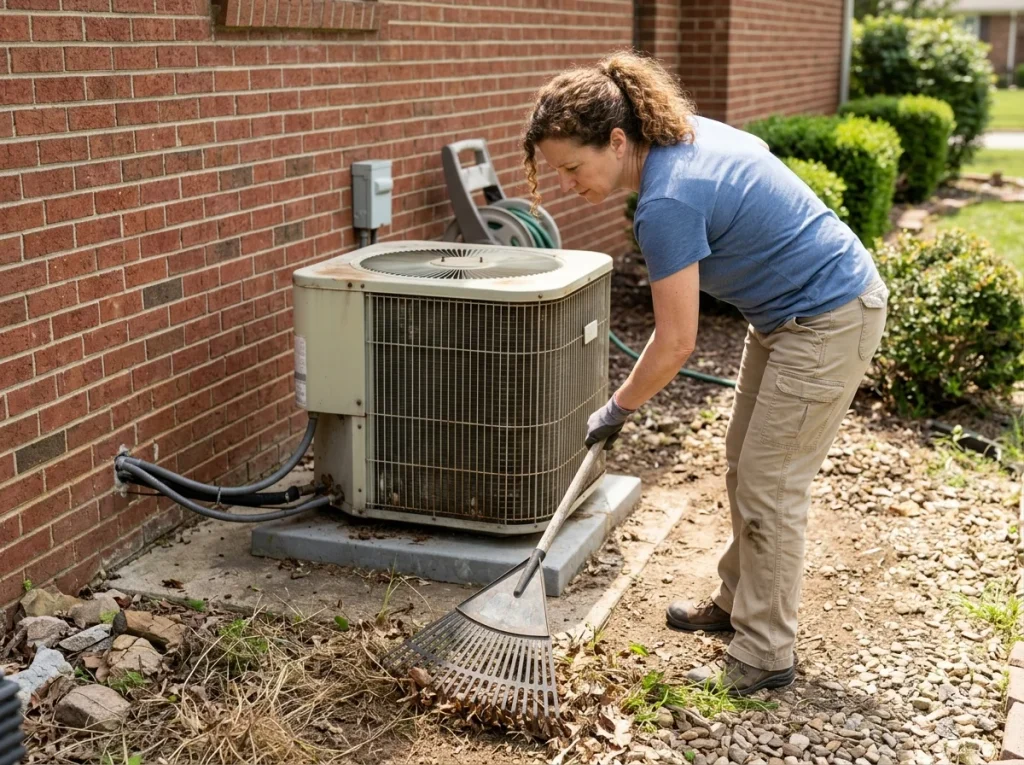
Start with logistics and access. Call your HVAC contractor to confirm the date, arrival window, and crew size. Verify that all permits are pulled and approved by the City of San Jose building department. Clear at least six to ten feet of workspace around both the indoor air handler and outdoor condenser unit.
Next, assess your electrical and ductwork conditions. Check your electrical panel for available breaker space and confirm it can handle the new system’s amperage. Inspect visible ductwork for obvious leaks, crushed sections, or poor insulation near the air handler. If you spot issues, schedule an electrician or duct specialist before installation week.
Work through these tasks:
- Confirm installation date, time, and expected crew size with your contractor
- Verify all permits are approved and ready for inspector sign-off if needed
- Clear six to ten feet around indoor and outdoor equipment locations
- Remove fragile items from hallways, closets, and near the furnace or air handler
- Test that attic ladders, crawl space doors, and utility closets open without sticking
48 Hours Before AC Installation
Now protect your home’s interior. Lay drop cloths or old sheets along the path from the entry door to the indoor unit location. Move area rugs, floor lamps, and low furniture out of the work zone. Cover nearby electronics and furniture with plastic sheeting to block drywall dust and metal shavings.
Plan for pets and children before the crew arrives. Confine dogs and cats to quiet rooms with water, toys, and a familiar blanket. Set up a kid zone in a separate part of the house with snacks, tablets, or games. This keeps everyone safe and lets the HVAC technician focus on the job without constant interruptions.
Tackle these items:
- Clear the Path: Remove shoes, mats, and decor from entryways to the HVAC closet or attic
- Cover Valuables: Use plastic sheeting or old sheets to protect nearby furniture and floors
- Pet Safety: Confine dogs and cats to quiet rooms or arrange pet-sitting for the day
- Kid Zones: Set up a play area away from noise, tools, and open doors
- Thermostat Prep: Remove old thermostat faceplate and take a photo of wiring for reference
On AC Installation Day
Plan to be home and available throughout the install. Your presence ensures quick access to locked gates, electrical panels, and attic spaces. You’ll also be on hand for any decisions that come up, like routing refrigerant lines or relocating the thermostat.
Expect noise, dust, and brief power loss during the work. The crew will drill, cut, and braze copper refrigerant lines. Your electrical panel will be shut off temporarily while they connect the new system. If you work from home, plan to take calls in a quiet room or step out for a few hours.
Here’s what typically happens:
- Crew arrives, lays protective runners, and confirms work zones with you
- Old condenser and air handler are disconnected, removed, and recycled properly
- New outdoor condenser unit and indoor air handler are set, connected, and charged
- System is tested for airflow, cooling output, and thermostat calibration
- Lead technician walks you through operation, filters, and warranty registration
Common Mistakes to Avoid Before AC Installation
These errors show up again and again in residential AC installation preparation. They delay installs, hurt system performance, and sometimes void warranties. Avoid them by reading this section before you sign the contract.
Skipping the Load Calculation
A proper load calculation tells you exactly what size system your home needs. Without it, you risk an oversized unit that short cycles or an undersized one that can’t keep up on hot San Jose afternoons. Both scenarios waste energy and shorten equipment life.
Insist on a Manual J load calculation before you approve any equipment. This analysis factors in square footage, window orientation, insulation levels, and local climate data. It’s the only way to size your new air conditioning installation correctly for long-term comfort and efficiency.
Ignoring Ductwork Conditions
Leaky or undersized ductwork can waste 25 to 40 percent of your cooling output. You might install a high-efficiency condenser, but poor ducts will still leave rooms warm and bills high. Duct issues also strain the new blower motor and reduce overall system lifespan.
Have your contractor inspect accessible ducts before installation day. Seal obvious leaks with mastic or metal tape. Replace crushed or disconnected sections near the air handler. If ducts run through hot attics, add insulation to keep conditioned air from heating up before it reaches your rooms.
Blocking Access Points
Cluttered pathways slow down the entire installation. Locked gates, full closets, and parked cars force technicians to waste time clearing access. This adds labor costs and can push the job into a second day when it should have finished in one.
Walk your property two days before the install. Open all gates and unlock sheds. Move vehicles from driveways and side yards. Clear storage from utility closets and attic hatches. Make it easy for the crew to carry equipment straight to the work zones without detours.
Things to Do Before AC Installation: San Jose Considerations
San Jose homes face unique climate and code requirements. Your preparation should reflect local weather patterns, energy rules, and typical housing layouts. This section covers what matters most for Bay Area homeowners preparing for HVAC replacement.
Silicon Valley Heat Loads and Efficiency Standards
San Jose sees hot, dry summers with temperatures regularly hitting the 90s. Your new system needs enough capacity to handle these peaks without oversizing for mild spring and fall days. This balance requires careful load calculations and often points to two-stage or variable-speed compressors.
California’s Title 24 energy code also sets strict efficiency standards for new installations. Your contractor should verify that the selected unit meets current SEER2 requirements for the state. This affects both equipment selection and permit approval, so confirm compliance before ordering the system.
Plan for these local factors:
- Schedule installs in spring or early summer to avoid peak-season delays
- Verify your contractor knows San Jose permit requirements and inspection timelines
- Consider smart thermostats and zoning to manage cooling in sun-heavy west-facing rooms
- Confirm the selected unit meets California Energy Commission efficiency standards
Older Home Electrical and Duct Challenges
Many San Jose homes were built in the 1960s through 1980s with electrical panels that lack capacity for modern HVAC systems. You may need a panel upgrade or new dedicated circuit before the new air conditioner can be connected safely.
Ductwork in these homes often runs through unconditioned attics that get extremely hot in summer. Poorly insulated or leaky ducts will undermine even the best new condenser unit. Budget time and money for electrical and duct improvements as part of your overall AC replacement preparation.
Address these common issues:
- Electrical Readiness: Confirm your panel supports the new system’s amperage before installation
- Duct Inspection: Have accessible ducts sealed and insulated before the new air handler is connected
- Permit Timing: Allow extra days for San Jose building permits and required inspections
- Attic Access: Clear storage from attic hatches so technicians can reach ducts and refrigerant lines
After AC Installation: Maximizing Your New System
The install is done. Now protect your investment and make sure the system performs as designed for years. These post-installation steps are just as important as the prep work you did beforehand.
Register Warranties and Schedule Maintenance
Complete your equipment warranty registration within 30 days of installation. Most manufacturers require this step to honor the full warranty term. Your contractor should provide registration forms or an online link during the final walkthrough.
Schedule your first AC maintenance visit six months after installation. A mid-season tune-up catches small issues before they become costly repairs. Set calendar reminders for filter changes every 90 days, or more often if you have pets or run the system constantly.
Follow these steps:
- Submit warranty registration forms within 30 days to avoid coverage gaps
- Schedule your first professional tune-up six months after installation
- Program your thermostat for energy savings when you’re away or asleep
- Check filters monthly and replace every 90 days, or sooner with heavy use
Learn Your Thermostat and Airflow Settings
Take time to learn your new thermostat’s features during the installation walkthrough. Ask the technician to show you how to set schedules, use geo-fencing, and adjust fan settings. These features can cut your cooling costs significantly when used correctly.
Test airflow at each register after the system runs for a day. Note any rooms that feel weak or stuffy compared to others. Call your contractor back for a balance adjustment if certain areas aren’t getting enough conditioned air.
Optimize your system with these actions:
- Program weekday and weekend schedules that match your family’s routine
- Use hold or vacation modes when you’re away for extended periods
- Adjust supply dampers to balance airflow between rooms if needed
- Keep registers open and unblocked by furniture or curtains for best performance
Frequently Asked Questions
How long does a typical AC installation take in San Jose?
Most residential replacements take six to ten hours from start to finish. Complex jobs with new ductwork or electrical upgrades may span one to two full days. Your contractor should give you a realistic timeline during the initial estimate.
Do I need to be home during the entire AC installation?
Yes, plan to be home for the full installation day. Your presence ensures access to locked areas and allows quick decisions if issues arise. You’ll also participate in the final system walkthrough and testing before the crew leaves.
Will I lose power or water during AC installation?
Power will be shut off temporarily while the crew connects electrical wiring at the panel. Water is rarely affected unless condensate drain lines need rerouting through walls or floors. Your contractor should warn you before any shutoffs occur.
Can technicians dispose of my old AC unit?
Yes, licensed contractors handle refrigerant recovery and recycle old units per EPA rules. This service is typically included in your installation quote. Ask for confirmation that proper disposal documentation will be provided for your records.
What if the weather is bad on installation day?
Indoor work can proceed during rain or storms. Outdoor brazing and electrical connections may be rescheduled for safety if conditions are severe. Your contractor should contact you early if weather forces a delay.
Ready to Prepare for Your New AC Installation in San Jose?
Getting your home ready for a new air conditioner doesn’t have to be stressful. Follow this checklist, avoid the common mistakes, and you’ll set yourself up for a smooth installation day and years of efficient cooling. When you need a trusted team for residential AC installation preparation in San Jose, Innovation Heating and Air Inc brings two decades of local experience to every job. Call (408) 520-1923 or visit innovationheatingandairinc.com to schedule your free estimate and start preparing for a more comfortable home.